

First login
Use this page after the server installation is complete and the DNA-Nexus web interface is reachable. The first administrator bootstrap depends on the login method selected during installation: QR / DNA Connect, OPAQUE zero-knowledge password, or traditional username and password.
Open the login page
Open the DNA-Nexus server address in a browser. The address depends on the installation choices: it may be the local server address, a public hostname, a reverse proxy address or a Cloudflare Tunnel hostname.
Choose the login method
DNA-Nexus can show different login screens depending on the authentication method selected during installation. The examples below show the English login screens.
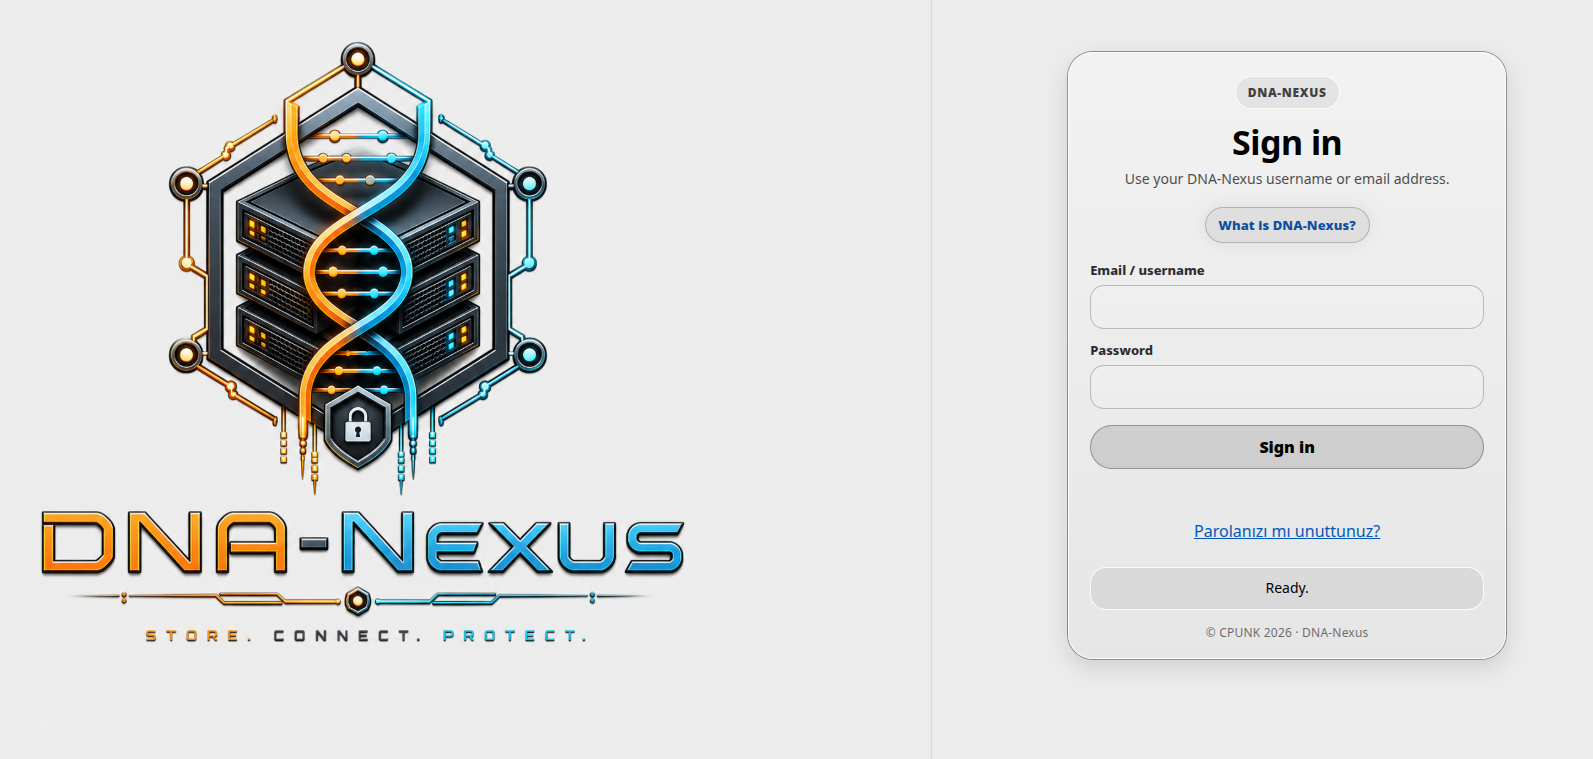
Username and password
Use this login screen when DNA-Nexus is configured for traditional username and password login.
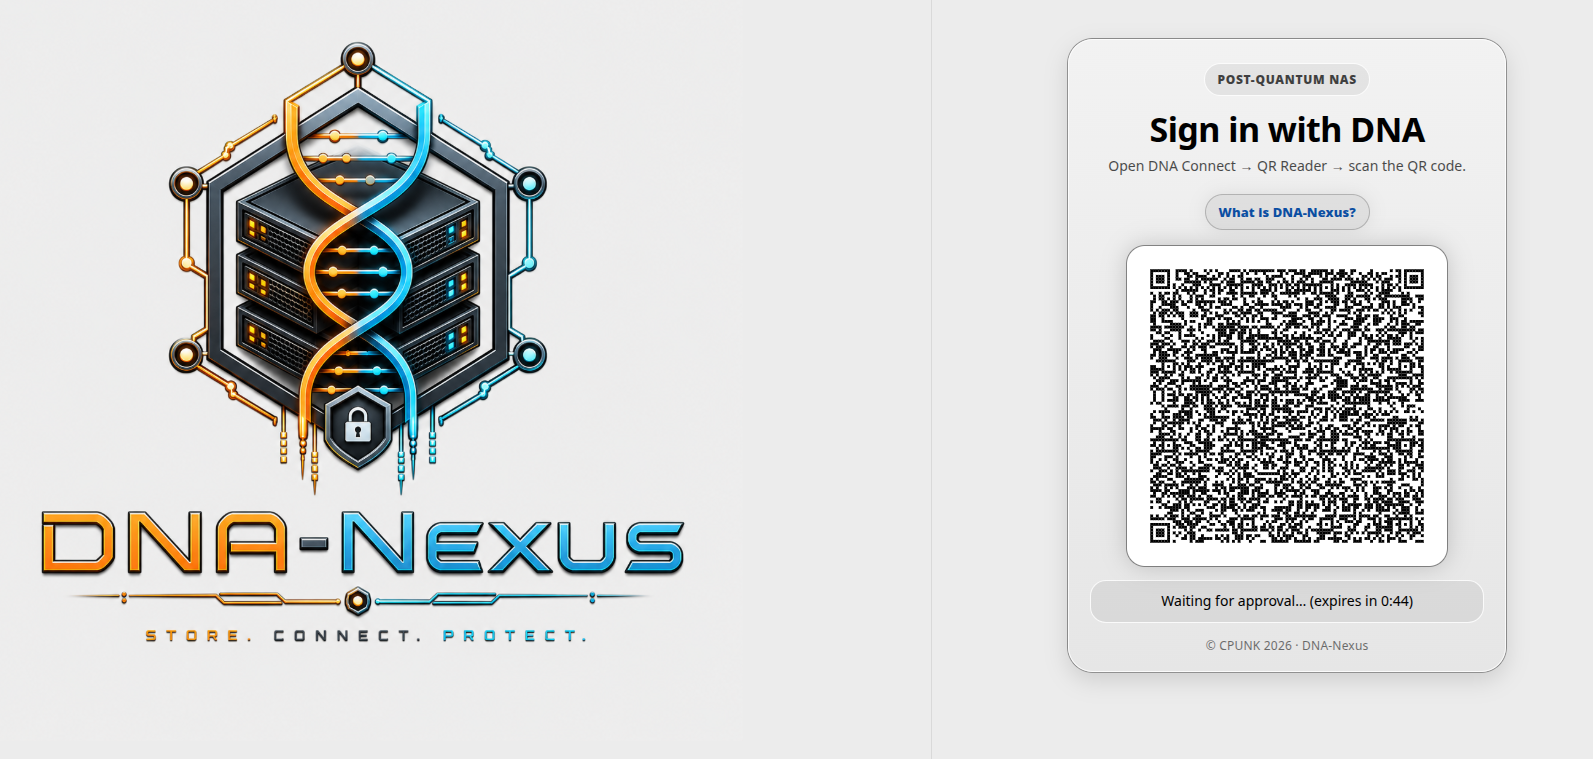
QR / DNA Connect
Use this login screen when DNA-Nexus is configured for QR-based DNA Connect login. The user scans the QR code with a trusted DNA-Nexus compatible device.
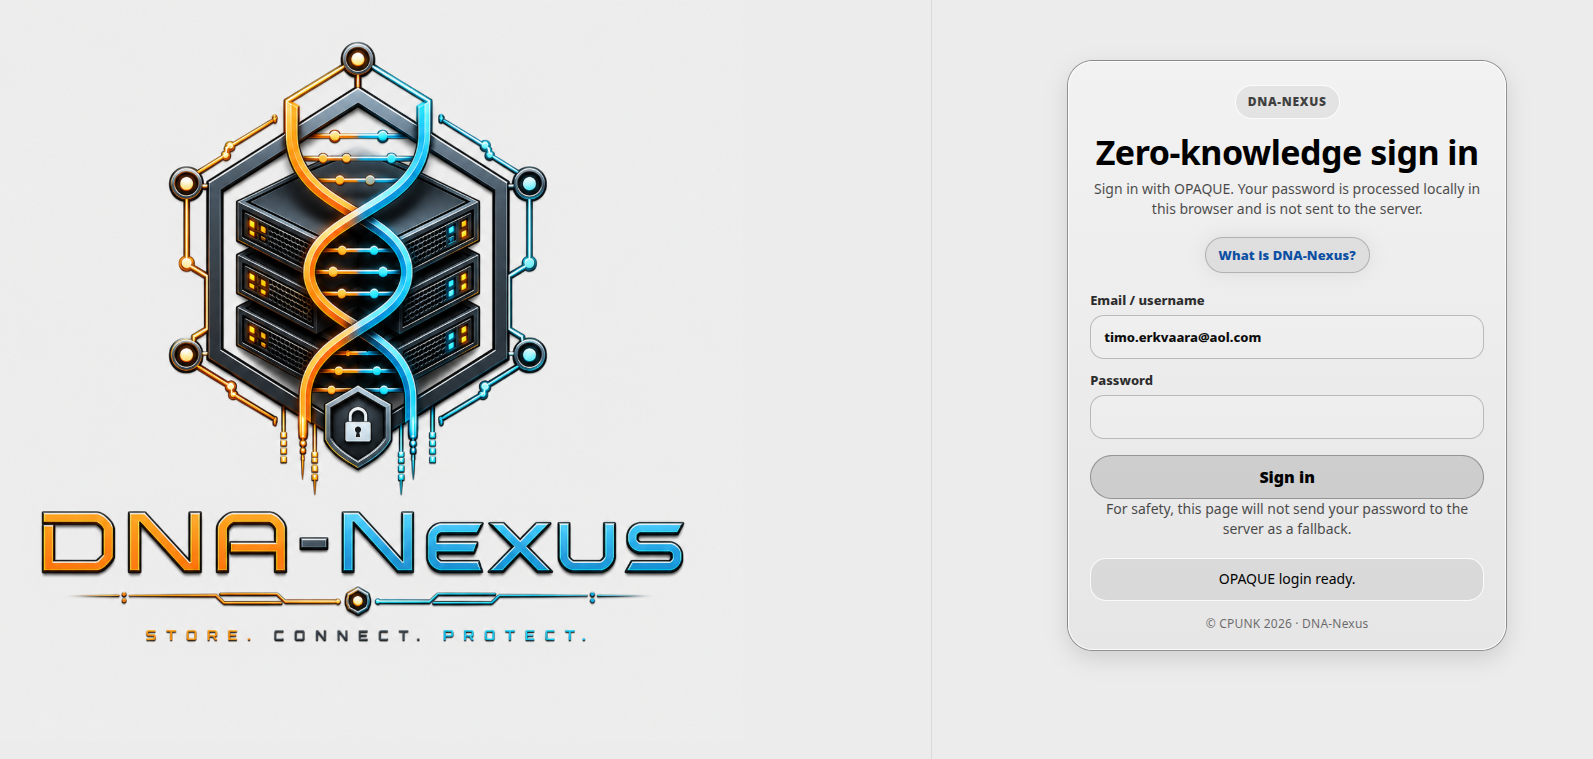
OPAQUE zero-knowledge password
Use this login screen when DNA-Nexus is configured for OPAQUE zero-knowledge password login.
First administrator bootstrap
A fresh DNA-Nexus installation needs exactly one initial administrator before normal user management can begin. DNA-Nexus has one internal fingerprint-based identity model, but the first-admin bootstrap path depends on the browser login method selected during installation.
Recommended: use pqnas-first-admin
The recommended first-admin setup method is the server-side helper command installed by DNA-Nexus:
sudo pqnas-first-adminRun this command on the server after installation. The helper detects the active login mode from the local server configuration and guides the administrator through the correct bootstrap flow.
What the helper does
| Login method | Helper behavior | Result |
|---|---|---|
| QR / DNA Connect | The helper explains that the first trusted QR/DNA Connect login performs the bootstrap. | The first verified identity becomes the initial admin. |
| OPAQUE | The helper creates a temporary OPAQUE bootstrap token, restarts the service, and shows the browser setup page to open. | The browser performs zero-knowledge password registration and creates the first admin. |
| Username/password | The helper creates a temporary password bootstrap token, asks for admin login/name/password, and calls the local bootstrap endpoint. | The first admin is created and recovery words are shown once. |
Advanced/manual bootstrap
Manual bootstrap is mainly useful for debugging, automation, or installer development.
Normal administrators should use sudo pqnas-first-admin.
Manual method 1: QR / DNA Connect
In QR / DNA Connect mode, open the DNA-Nexus login page and scan the QR code with a trusted DNA-Nexus compatible device. On a fresh server with no enabled admin users, the first verified identity becomes the initial administrator.
Manual method 2: OPAQUE
OPAQUE bootstrap needs a temporary server-side token because the browser performs the zero-knowledge password registration. The plaintext password must not be sent to the server.
PQNAS_LOGIN_MODE=opaque
PQNAS_OPAQUE_BOOTSTRAP_TOKEN=<temporary-random-token>
After restarting the service, open the OPAQUE bootstrap page in a browser:
/static/opaque-bootstrap.htmlEnter the bootstrap token, admin login, display name and password. If the setup succeeds, copy the 24 recovery words immediately. They are shown once and are not stored by the server.
Manual method 3: Username/password
Traditional username/password mode uses an explicit one-time bootstrap endpoint. A normal password login attempt must not create users by itself.
PQNAS_LOGIN_MODE=password
PQNAS_PASSWORD_BOOTSTRAP_TOKEN=<temporary-random-token>
After restarting the service, run the bootstrap request locally on the server:
curl -sS \
  -H "Content-Type: application/json" \
  -H "X-PQNAS-Bootstrap-Token: $token" \
  -d '{"login":"admin@example.com","name":"Admin","password":"change-this-long-password"}' \
  http://127.0.0.1:8081/api/auth/password/bootstrap-admin
Localhost is recommended during bootstrap so that a public proxy, tunnel or cached route cannot point to the wrong backend. If recovery words are returned, copy them immediately.
Remove bootstrap tokens
Bootstrap tokens are temporary installation helpers. They must not remain configured after the first administrator has been created.
# Recommended cleanup
sudo pqnas-first-admin cleanup
Manual cleanup examples:
# Password bootstrap cleanup
sudo sed -i '/^PQNAS_PASSWORD_BOOTSTRAP_TOKEN=/d' /etc/pqnas/pqnas.env
sudo systemctl restart pqnas.service
# OPAQUE bootstrap cleanup
sudo sed -i '/^PQNAS_OPAQUE_BOOTSTRAP_TOKEN=/d' /etc/pqnas/pqnas.env
sudo systemctl restart pqnas.serviceBootstrap troubleshooting
| Error or symptom | Meaning | What to check |
|---|---|---|
password_auth_disabled |
The request reached a server process that is not in password login mode. | Check /api/auth/config and confirm PQNAS_LOGIN_MODE=password. |
bootstrap_disabled |
Password mode is enabled, but no password bootstrap token is configured. | Set PQNAS_PASSWORD_BOOTSTRAP_TOKEN temporarily or run sudo pqnas-first-admin. |
bootstrap_denied |
The supplied bootstrap token is missing or does not match. | Use the exact token from the server environment. |
opaque_bootstrap_disabled |
OPAQUE mode is enabled, but no OPAQUE bootstrap token is configured. | Set PQNAS_OPAQUE_BOOTSTRAP_TOKEN temporarily or run sudo pqnas-first-admin. |
enabled_admin_exists |
A first admin already exists. | Use the existing admin account, or reset users intentionally before testing bootstrap again. |
| Localhost works but public URL behaves differently | The public proxy, tunnel or hostname may be pointing to a different backend state. | Compare http://127.0.0.1:8081/api/auth/config with the public /api/auth/config. |
After login
-
Confirm that the dashboard opens
After login, confirm that the DNA-Nexus dashboard or main application view opens normally.
-
Open the administration area
After the first administrator login, the DNA-Nexus workspace may still look empty. This is expected on a new installation.

Before creating normal users or uploading content, open the Admin area from the left sidebar. The Admin area is used for the initial server setup, user management, approvals, storage settings and other administrator tasks.
-
Check users and approvals
Open the user administration or approvals page and confirm whether any new identities are waiting for approval.
-
Continue initial setup
After the first login works, continue with server settings, user creation and storage allocation.